Welcome to your user-friendly guide to setting up your DYMO LabelWriter 550. This high-performing label printer is designed to streamline your labeling tasks, making it a valuable addition to any home or office setup. Whether you’re looking to organize your workspace or need a reliable solution for your shipping needs, the DYMO LabelWriter 550 has got you covered.
In this guide, we’ll walk you through setting up your label printer with clear, easy-to-follow steps. From unboxing your DYMO LabelWriter 550 to installing the software, we aim to make the setup process as smooth as possible. So, let’s get started and unlock the full potential of your new label printer!
What You Need to Setup Your Dymo LableWriter
Before we jump into your DYMO LabelWriter 550 setup process, it’s important to ensure that you have all the necessary equipment. Having everything prepared will make the setup process more efficient and hassle-free. In this section, we’ll provide a comprehensive list of items you will need to optimally set up your label printer.
Dymo LableWriter 550
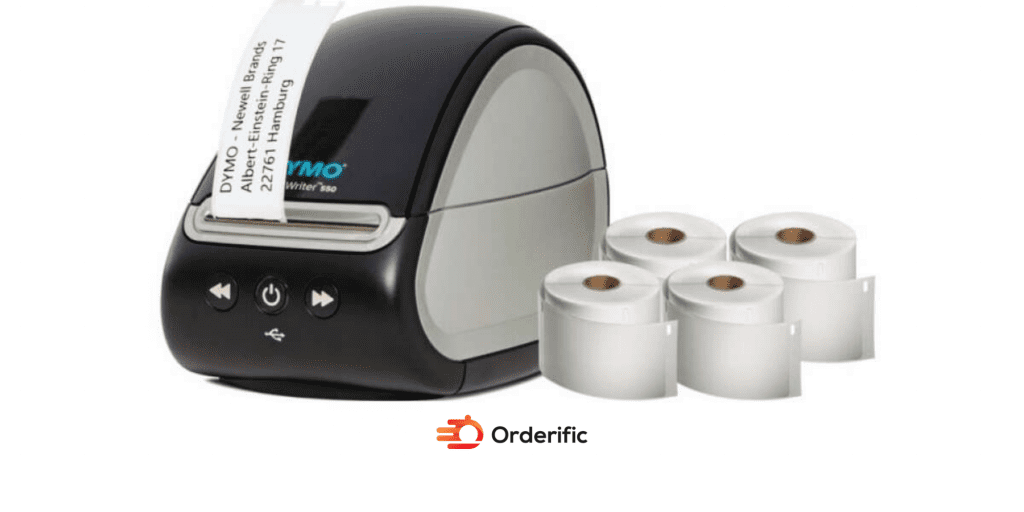
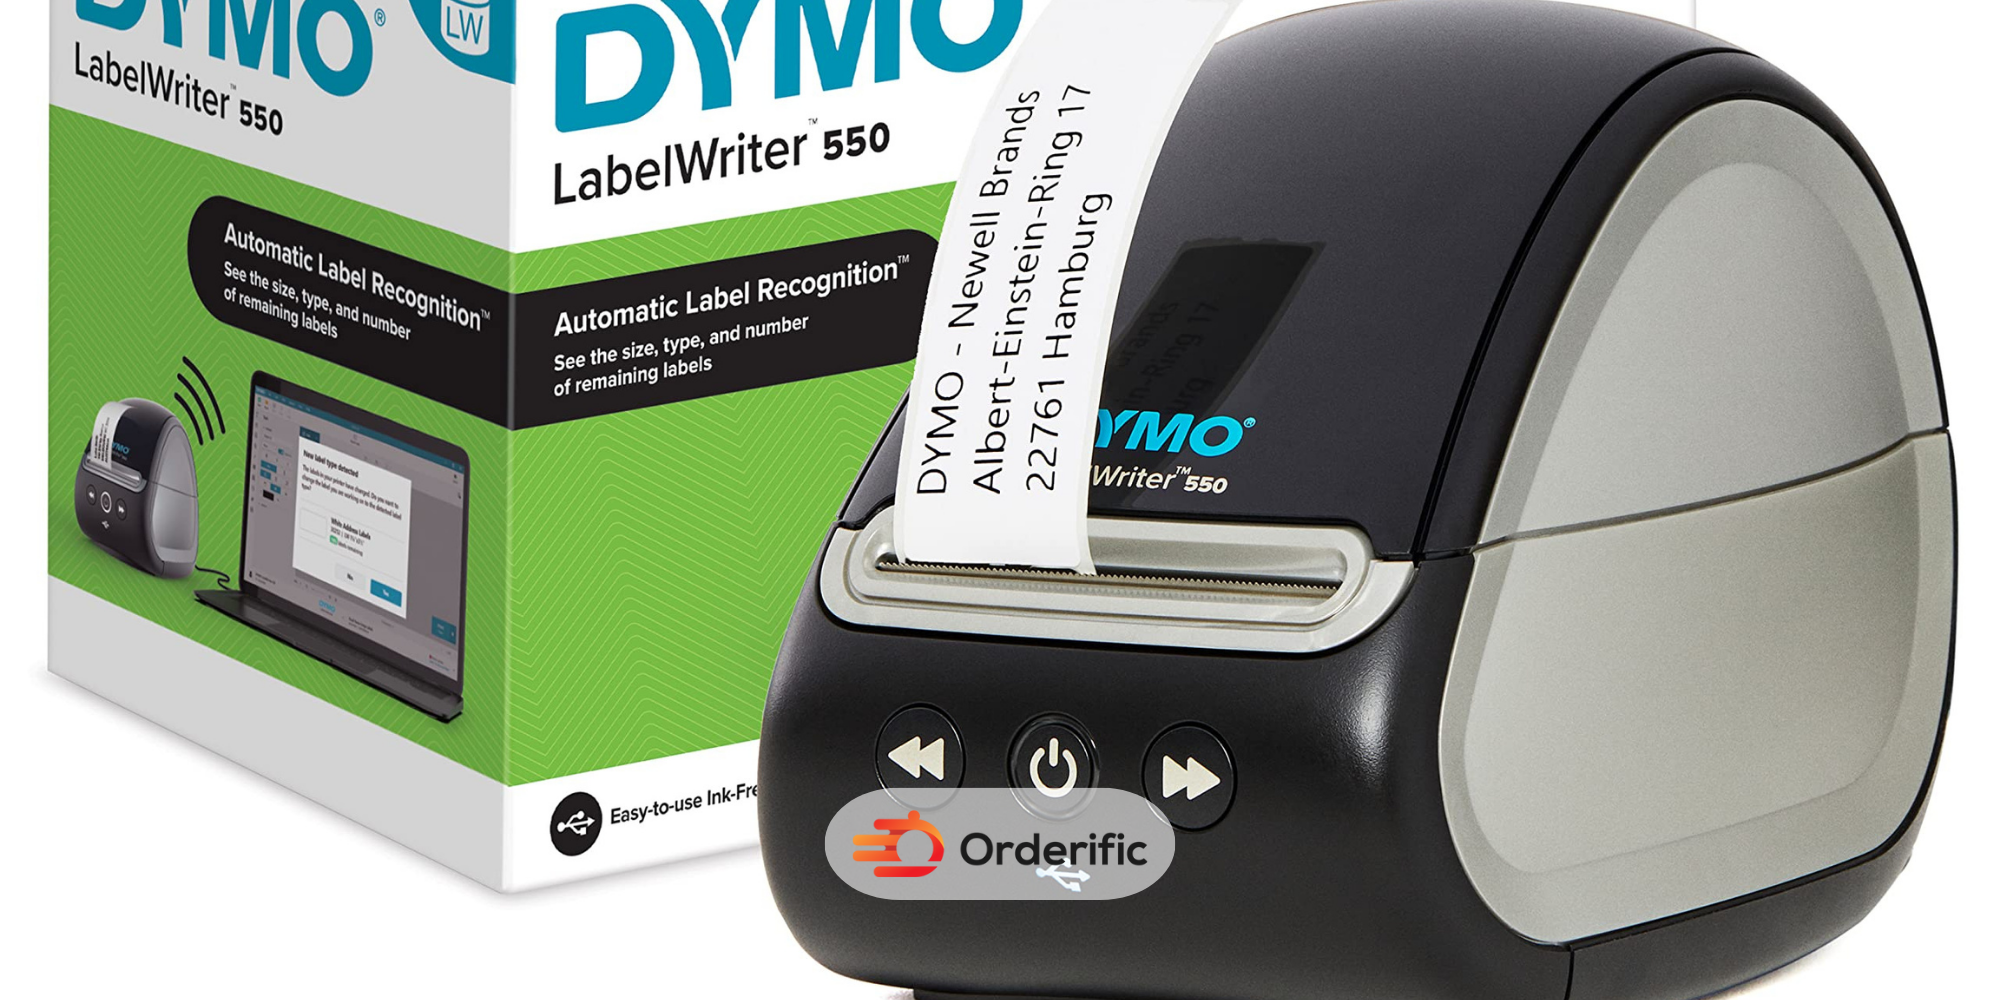
First and foremost, you’ll need a Dymo LabelWriter 550. This compact, high-speed label printer is the star of our setup guide. If you don’t already have one, they’re available online on websites like Amazon or in various office supply stores. Make sure to purchase one to follow along with the rest of this guide.
Power Cable
Next, you’ll need a power cable to connect your DYMO LabelWriter 550 to an electrical outlet. The LabelWriter 550 comes with a standard power cable, but ensure it’s included in the box before starting the setup process.
Ethernet Cable
If you plan on using the network capabilities of your DYMO LabelWriter 550, you’ll need an Ethernet cable to connect it to your router. This will allow you to print labels from multiple devices on the same network.

Setting up the Dymo 550 via Ethernet (LAN)
The Ethernet setup is a phenomenal feature of the DYMO LabelWriter 550 that allows you to connect multiple devices, making label printing a breeze for everyone on your network. This section will guide you through the steps to set up your LabelWriter via Ethernet, ensuring you get the most out of its network capabilities.
Connect the Dymo 550
Begin by connecting the Ethernet cable from your router to the LabelWriter’s Ethernet port. This will establish a connection between your label printer and your network, allowing you to print labels wirelessly from any device connected to the same network.
Connect the Ethernet Cable
To connect the Ethernet cable, locate the Ethernet port usually found on the back panel of your LabelWriter. Plug one end of the Ethernet cable into this port and the other end into an available slot on your router. Make sure both ends are secured and the connections aren’t loose. Voila, your LabelWriter is now network-ready! This will allow you to print labels wirelessly from any device connected to the same network.
Download the Dymo Label Printer Software
To fully utilize the network capabilities of your LabelWriter 550, you’ll need to download the Dymo Label Printer software. This software allows you to easily design and print labels from your computer or mobile device. You can find this software on the official Dymo website or by using the CD included in the package. Follow the instructions provided with the software to **install it on your computer.
Install the Software
Once the software is downloaded, follow the installation instructions to install it on your computer. This process may vary depending on your operating system, but it typically involves running an installer and agreeing to the terms and conditions. Once the installation is complete, you’re all set to start designing and printing labels with your DYMO LabelWriter 550.
Select the Label Printing Format in Retail POS
If you use the DYMO LabelWriter 550 for retail POS (point of sale) purposes, you must select the appropriate label format in your POS system. This ensures that your labels will print correctly and fit seamlessly onto your products. Consult your POS system’s user manual or support team for specific instructions on how to do this.
Conclusion
And there you have it! You’ve successfully set up your DYMO LabelWriter 550. With this user-friendly, high-performance label printer, you can streamline your labeling tasks drastically. Whether you’re looking to organize your office, handle shipping requirements, or manage retail POS labeling, the DYMO LabelWriter 550 is ready to deliver with exceptional efficiency and ease.
As you continue using your LabelWriter, don’t forget that the versatile DYMO software allows you to design and print an array of label formats, catering to all your labeling needs. And remember, the Ethernet setup enables you to connect multiple devices, making label printing a breeze for everyone on your network. Now, go forth and enjoy the convenience and professionalism that comes with having a well-organized workspace or retail area!
Click here for more insightful and informative advice with Orderific. To start experiencing the great benefits Orderific can bring to your business, click here now. Try Orderific!
FAQs
How to get a Dymo label printer online?
You can purchase a Dymo label printer online from various retailers, such as Amazon or the official Dymo website.
Can UPS power a printer?
No, the LabelWriter 550 requires its power source. Make sure to connect it directly to an electrical outlet using the provided power cable for optimal performance.
What are some common uses of thermal printers?
Some common uses include printing labels, receipts, tickets, and tags. They are also frequently using in retail for barcode printing and in healthcare settings for wristband printing.
How to print labels in Excel?
Printing labels in Excel requires a properly structured data set and a simple mail merge in Microsoft Word. Consult Excel’s tutorials or guides for detailed steps.
How to troubleshoot the Dymo LabelWriter 550?
If you experience issues with your LabelWriter 550, start by ensuring that it’s properly connected to power and your network. Check that the software is up-to-date and installed correctly.


