Prepare yourself to indulge in the delight of a perfectly crafted cup of homemade coffee, every single morning. The art of crafting your own coffee at home unveils a gratifying and exquisite journey. Armed with a few uncomplicated tools and a fundamental grasp of diverse coffee brewing methods, you have the power to create coffee-shop-caliber brews right in your very own kitchen.
Within the pages of this blog post, we will delve into the intricacies of each homemade coffee variant: whether it’s the meticulous pour-over, the classic French press, the bold espresso, or even the smooth cold brew. So clutch your treasured mug, settle into your favorite chair, and accompany us on this exploration of the boundless universe that homemade coffee brings forth.
Introduction
As remote work becomes more prevalent and our time spent at home increases, the trend of crafting coffee within our own four walls has gained remarkable traction. Beyond the financial benefits, this practice offers a canvas for creativity, letting us personalize our daily caffeine fix. The profusion of coffee-making gadgets accessible today further simplifies the journey to achieving a cup of coffee that rivals what we’d find in a café, all from the sanctuary of our kitchens.
In lieu of drive-thrus and takeout, a growing number of individuals are adopting the coffee-making ritual, transforming it into a serene and pleasurable morning routine. Welcoming each day with this mindful brewing process sets an ideal tone for the day ahead.
How to Make Espresso at Home
Few things rival the satisfaction of beginning your day with a luscious, full-bodied shot of espresso. While the thought of replicating this café essential might appear daunting, armed with a handful of essential pointers and the right equipment, you have the potential to master the art of being your own barista.
Ingredients and Equipment:
- Freshly roasted coffee beans
- Espresso machine
- Grinder
- Tamper
- Filter basket
Steps:

- Select and Grind Your Beans: Choose high-quality, freshly roasted coffee beans specifically labeled for espresso. Grind the beans just before brewing to preserve their flavor and aroma. Use a burr grinder to achieve a fine and consistent grind. Aim for a grind size resembling table salt.
- Preheat Your Machine: Activate your espresso machine and allow it to fully heat up. Most machines are equipped with indicator lights that signal their readiness for use.
- Prepare the Portafilter: Attach the portafilter to the group head of your espresso machine. The portafilter is the handle-like device that holds the coffee grounds. Preheat the portafilter by letting hot water run through it briefly. Dry it before proceeding.
- Dose and Distribute: Measure the appropriate amount of coffee grounds for your portafilter’s size (usually around 18-20 grams for a double shot). Distribute the grounds evenly in the portafilter basket to ensure uniform extraction.
- Tamp the Coffee: Use a tamper to firmly press down the coffee grounds in the portafilter. Apply even pressure to create a flat, compact puck. This step ensures proper water flow and extraction.
- Brewing: Insert the portafilter back into the group head. Start the brewing process immediately after tamping. The espresso machine will force hot water through the compacted coffee grounds under high pressure, resulting in the extraction of concentrated espresso.
- Monitor and Time the Shot: Pay attention to the espresso as it’s being brewed. A standard double shot should take around 25-30 seconds to brew. The espresso should flow out in a steady, even stream and have a rich, honey-like consistency.
After the extraction process, you can savor the espresso as a rich, concentrated shot or utilize it as a foundation for a variety of espresso-based beverages such as lattes, cappuccinos, or Americanos.
How to make Cappuccino at home
Ingredients:
- Freshly brewed strong coffee or espresso shot.
- Milk (dairy or non-dairy, like almond, soy, or oat milk).
- Sugar or sweetener (such as brown sugar).
- Cocoa powder or cinnamon for garnish (optional).
Instructions:
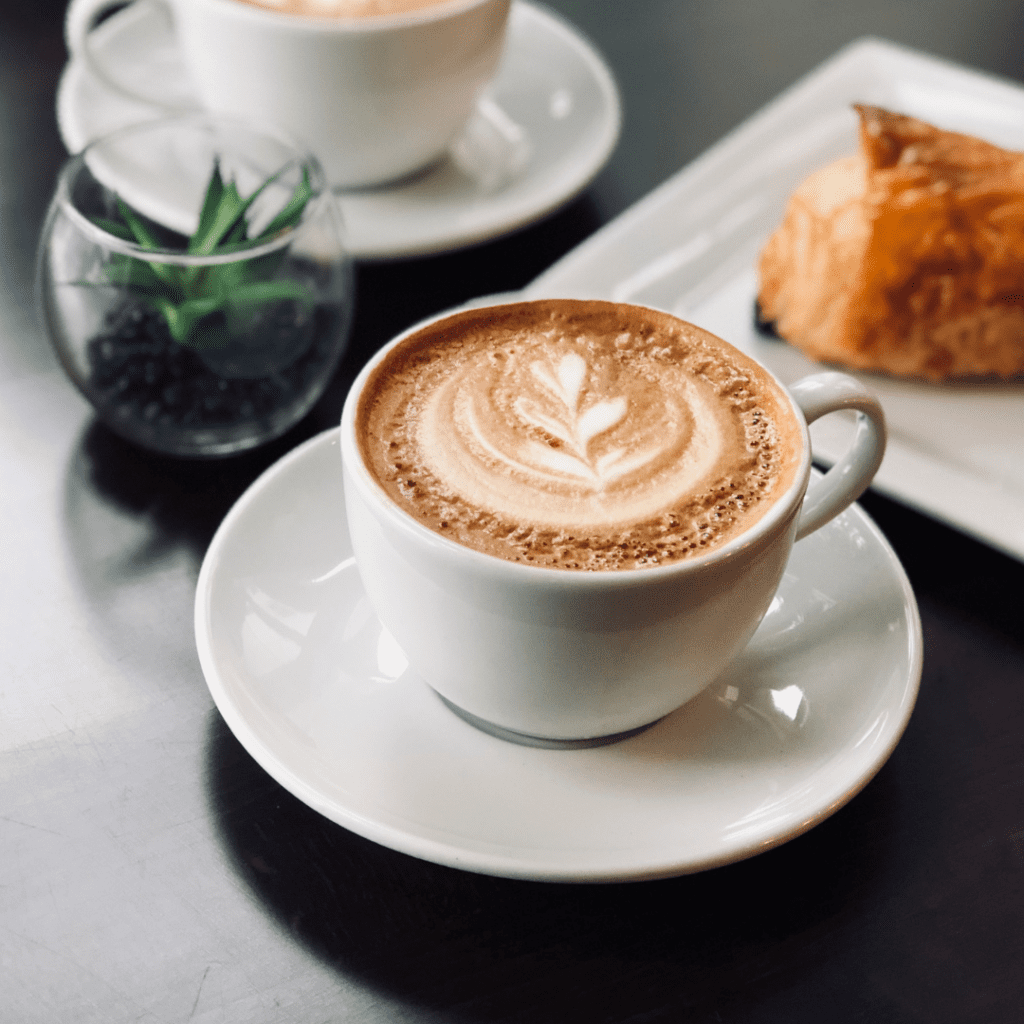
- Brew Coffee or Espresso: Brew a strong cup of coffee using your preferred method. If you have an espresso stovetop maker, that’s great, but strong coffee will work too.
- Froth the Milk: Heat the milk on the stovetop or in the microwave until it’s hot but not boiling. Use a whisk, a handheld milk frother, or a jar with a tightly sealed lid to froth the milk. Vigorously whisk or shake the milk until it becomes frothy and doubles in volume.
- Assemble the Cappuccino: Ladle the brewed coffee or espresso into a cup, allowing it to fill approximately one-third of the cup’s volume. With a gentle touch, layer the frothed milk on the coffee’s surface, using a spoon to delicately retain the foam. Aim for a harmonious balance, aiming for a composition where each element – coffee, milk, and foam – occupies about a third of the cup’s content.
- Add Flavor (Optional): If desired, sprinkle a pinch of cocoa powder or cinnamon on top of the milk foam for added flavor and presentation.
Your homemade cappuccino is now ready to enjoy! Sip it slowly to savor the layers of hot coffee, milk, and foam.
How to make Cold brew at home
Crafting cold brew at home is a straightforward process that yields a smooth and refreshing coffee concentrate. Here’s a simple guide to help you create delicious cold-brew coffee:
Ingredients:
- Coarsely ground coffee beans
- Cold, filtered water
Equipment:
- Large jar or pitcher
- Fine mesh sieve or coffee filter
- Cheesecloth or paper towel (if using a sieve)
- Optional: Flavorings like vanilla extract, cinnamon, or sweeteners
Instructions:
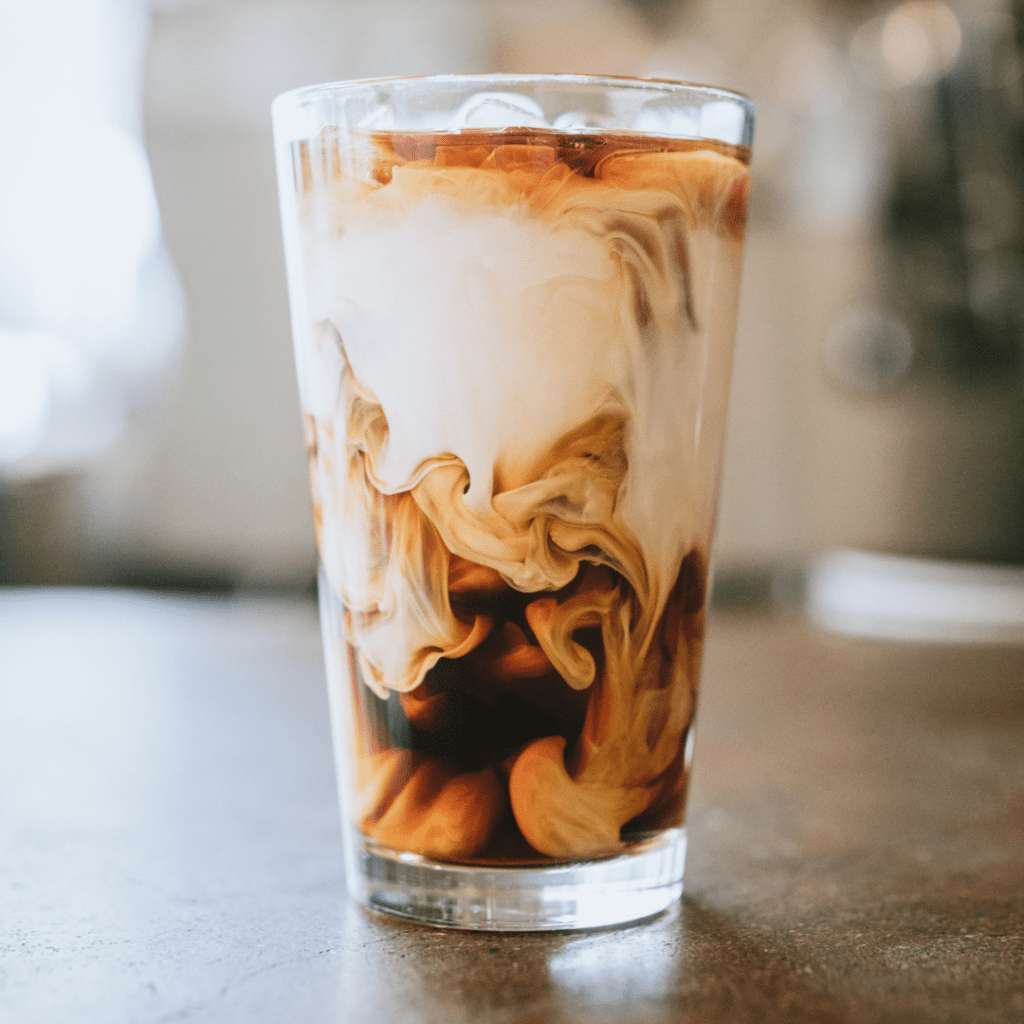
- Select Coffee Grounds: Begin by measuring out coarsely ground coffee beans. A customary proportion is 1 cup of coffee grounds for every 4 cups of water, though you can tailor this to your flavor preferences.
- Combine Coffee and Water: Take your chosen container, be it a jar or pitcher, and blend the coffee grounds with cold, filtered water. Gently stir to ensure that all the coffee grounds are thoroughly moistened.
- Steeping Phase: Cover the container and place it in your refrigerator. Allow the mixture to steep for a duration of 12 to 24 hours. Remember, a longer steeping time yields a stronger and more concentrated cold brew.
- Straining Process: Once the steeping is complete, utilize a fine mesh sieve or a coffee filter to strain the coffee concentrate into another vessel. If you’re using a sieve, lining it with cheesecloth or a paper towel can catch any fine coffee particles effectively.
- Dilution (Optional): Cold brew concentrate offers a bold and intense flavor profile. To fully enjoy it, dilution with water or milk is usually required. A common approach is to combine 1 part cold brew concentrate with 2-3 parts water or milk, but feel empowered to adjust this ratio to align with your individual preferences.
- Flavor Enhancement and Sweetening (Optional): For an extra touch, you can infuse your cold brew with flavor. A dash of vanilla extract, a sprinkle of cinnamon, or the addition of simple syrup can elevate its taste profile. Play around to discover your preferred combination.
Pour your diluted cold brew over ice and enjoy your iced coffee! You can also store any leftover concentrate in the refrigerator for up to two weeks.
Tips:
- Use coarsely ground coffee to prevent over-extraction and bitterness.
- Experiment with the steeping time to find your preferred strength.
- Cold brew is highly customizable. Adjust the coffee-to-water ratio and dilution to suit your taste.
- Feel free to get creative with additives like flavored syrups or a splash of cream.
- Make a larger batch to have cold brew ready in your fridge whenever you crave it.
How to make Pour-over at home
Creating a pour-over coffee at home is a delightful and straightforward process. Here’s a step-by-step guide to crafting a delicious pour-over coffee using basic tools:
Ingredients and Tools:
- Freshly roasted coffee beans
- Grinder
- Pour-over cone (e.g., Hario V60, Chemex, Kalita Wave)
- Filter
- Kettle
- Scale
- Timer
- Mug or carafe
Instructions:
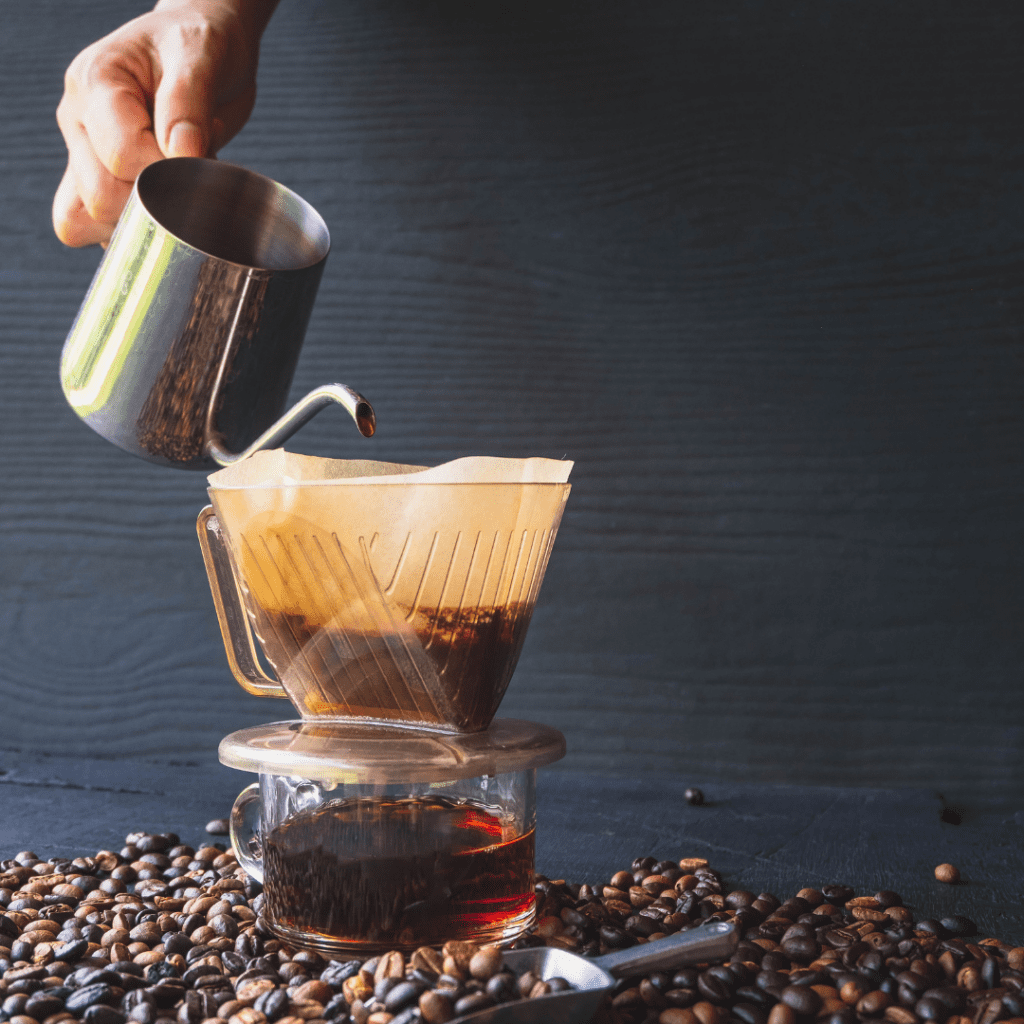
- Boil Water: Start by boiling water. It’s best to use water just off the boil, around 200°F (93°C).
- Grind Coffee: Grind your coffee beans to a medium-coarse consistency, similar to sea salt. Aim for about 1 to 2 tablespoons of coffee grounds per 6 ounces of water, depending on your preference and the size of your pour-over cone.
- Place Filter and Rinse: Place the paper filter in the pour-over cone. Rinse the filter with hot water to remove any paper taste and preheat the cone and vessel. Discard the rinse water.
- Add Coffee Grounds: Put the coffee grounds into the rinsed filter, ensuring the surface is level.
- Bloom: Start your timer. Pour hot water evenly over the coffee grounds, just enough to saturate them. This step, known as the “bloom,” allows the coffee to release trapped gases. Let it bloom for about 30 seconds.
- Pour in Stages: Begin pouring water over the coffee grounds in a slow, circular motion, starting from the center and moving outward. Pour in stages, maintaining a steady flow. Avoid pouring directly onto the filter’s edges. Your goal is to keep the coffee bed consistently wet.
Once the water has passed through the coffee grounds and dripped into the mug or carafe below, your pour-over coffee drink is ready to enjoy.
Tips:
- Use fresh coffee beans for the best flavor. Grind just before brewing to preserve aroma.
- Invest in a gooseneck kettle for more precise pouring control.
- Maintain a consistent pouring rate to ensure an even extraction.
- Adjust the coffee-to-water ratio and grind size to tailor the taste to your liking.
- Play with different pouring techniques to explore their impact on flavor.
- Keep track of your process with a timer to fine-tune your brewing routine.
With practice, you’ll master the art of making pour-over coffee and discover a new level of coffee appreciation in the comfort of your home.
How to make Latte at home
Ingredients and Tools:
- Freshly brewed coffee or espresso shot
- Milk, coffee creamer or condenser milk
- Sweetener (optional)
- Frother (milk frother, handheld frother, or French press)
- Mug
Instructions:
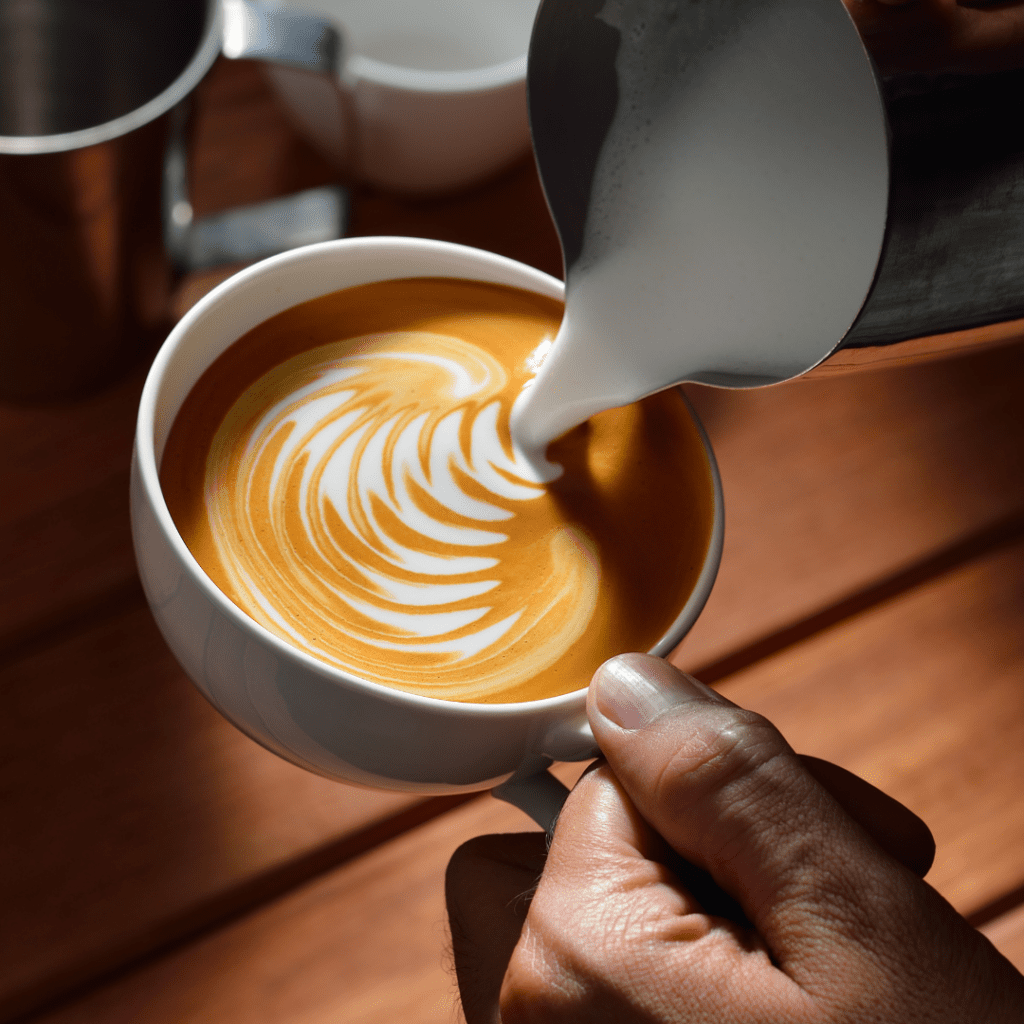
- Prepare Coffee or Espresso: Start by brewing a robust cup of coffee using your preferred method. If you have an espresso machine or stovetop maker, you can also pull a shot of espresso or coffee syrup for an authentic flavor.
- Warm the Milk: Take your milk of choice and heat it either on the stovetop or in a microwave-safe container. Ensure it’s heated enough to be hot but not boiling, avoiding any scorching.
- Create Velvety Foam: Use a frother to craft a luxurious, velvety milk foam. If a frother isn’t available, you can achieve this with a handheld frother or even a French press. Froth the milk until it becomes airy and significantly increases in volume. When using a French press, microwave the milk, transfer it to the press, and rapidly pump the plunger for frothing.
- Pour Coffee or Espresso: Select a mug and pour the brewed coffee or espresso into it, filling it to about one-third of the mug’s capacity.
- Add the Frothed Milk: Gently pour the frothed and steamed milk into the coffee or espresso. To ensure a balanced mix, allow the milk to flow before releasing the foam. This technique preserves the layers.
- Finishing Touch with Foam: Enhance your latte’s appeal by spooning the milk foam delicately atop the coffee-milk mixture, forming a creamy crown.
- Optional Sweetening: If you prefer a touch of sweetness, consider adding sugar, honey, or flavored syrup to match your taste.
Your handcrafted homemade coffee latte is now ready for indulgence. Take a moment to relish the exquisite fusion of coffee and frothy milk, resulting in a delightful treat that captures the essence of a café experience right at home.
How to make Mocha at home
Ingredients:
- Freshly brewed coffee or espresso shot
- Milk (dairy or non-dairy)
- Unsweetened cocoa powder
- Sweetener (sugar, honey, or syrup)
- Whipped cream (optional)
- Chocolate shavings or cocoa powder for garnish (optional)
Instructions:

- Brew Coffee or Espresso: Prepare a robust cup of coffee using your preferred method. If you have an espresso machine, extract a shot of espresso. Alternatively, utilize a drip coffee maker, French press, or another brewing technique that suits your taste.
- Craft Cocoa Mixture: Create a smooth paste by blending 1-2 tablespoons of unsweetened cocoa powder with a small amount of hot water. This mixture will serve as the flavorful base for your mocha.
- Warm the Milk: Heat your chosen milk on the stovetop or in the microwave, ensuring it’s heated without reaching a boiling point. The quantity of milk depends on your desired creaminess level for the mocha.
- Blend Coffee, Cocoa, and Milk: In a mug for serving, blend the brewed coffee or espresso with the prepared cocoa paste, ensuring a thorough mix. Pour the heated milk into the mug and stir to combine the components.
- Customize with Sweetener: Personalize the sweetness of your mocha by adding sugar, honey, or your preferred syrup. Stir adequately to dissolve the sweetener completely.
- Optional Whipped Cream: Elevate your mocha with an indulgent touch by crowning it with a dollop of whipped cream.
- Final Flourish: If desired, adorn your mocha with a sprinkle of cocoa powder or delicate chocolate shavings. This not only enhances the visual appeal but also elevates the chocolate essence.
Your handcrafted mocha is now prepared for your enjoyment. Take a sip and relish the delightful fusion of coffee and chocolate notes.
Conclusion
To wrap up, achieving the ideal cup of home-brewed coffee is a skill that improves with dedication. Whether you’re into the precise pour-over, the velvety latte, or the luxurious mocha, each approach presents a distinct journey tailored to various preferences and moments.
The key to perfecting these recipes lies in patient practice, experimentation with the coffee-to-water ratio, and playing with grind sizes and pouring techniques. Don’t forget to enjoy the process as you explore the vast and fascinating world of coffee.
We hope these guides have illuminated your path towards brewing your ideal cup. If you thirst for more coffee knowledge, we invite you to dive deeper into the rich reserves of our Orderific blogs where we unravel more brewing methods, coffee origins, and everything coffee-related. Happy brewing!
FAQs
Q. What are some popular methods or techniques for brewing homemade coffee?
Ans. Some popular methods for brewing homemade coffee include the French press, espresso machine, drip coffee maker, and the pour-over technique.
Q.Can you recommend any tips or tricks to enhance the flavor and quality of homemade coffee?
Ans. Freshly grinding your coffee beans just before brewing and using purified water can significantly enhance the flavor and quality of your homemade coffee.
Q.Are there specific types of coffee beans or roasts that work best for making homemade coffee?
Ans. The choice of coffee beans or roasts is subjective and depends on personal taste. However, medium or dark roast beans are often preferred for their robust flavor.
Q. How can one replicate the café-style experience with homemade coffee, including latte art or specialty drinks?
Ans. To replicate the café-style experience at home, invest in a good quality espresso machine, learn the art of frothing milk for lattes, and practice crafting latte art or specialty drinks.


